 Artwork by Gabrieal
 Artwork by Ellusion
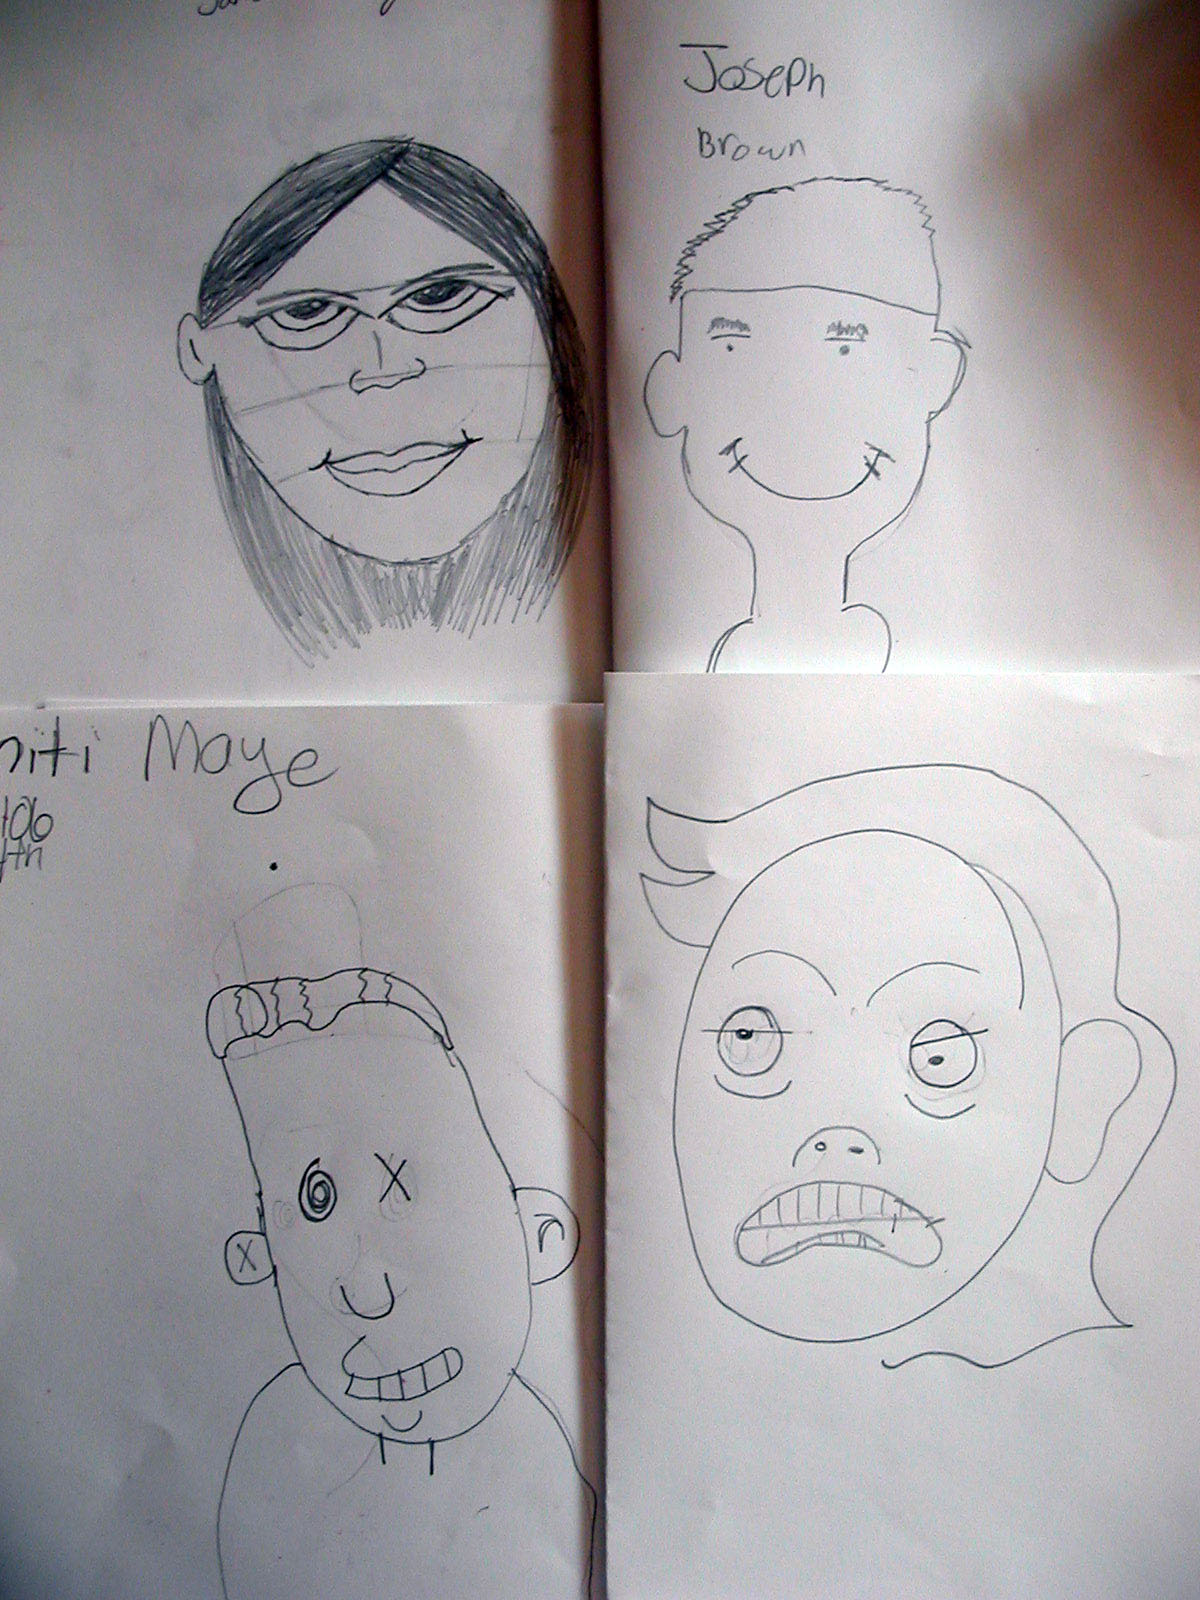 Artwork by Janeia, Joseph, Triniti and Lorraine
http://drawsketch.about.com/od/cartooning/ss/drawcartoonfaces.htm
 Artwork by Janeia
 Artwork by Joseph
 Artwork by Breanna
 Artwork by Kennedie

 Artwork by Aniyah
 Artwork by Damari
 Artwork by Akilah and Janeia (Art Club students also made clay- Akilah used a fork on her gingerbread man and Janeia decided not to use the cookie cutters and sculpted the thumbs up, reindeer and that little bow!)
 Makayla made great texture on her ornaments! (texture= look and feel of the fork markings)

 Two on the Left by De'yannah, Kiara did the bell and Chyna did the bear, nice work!
 Artwork by Tatianna
 Artwork by Asjah
 Artwork by Aniya- scroll up to see what Aniya's ornaments looked before being painted.

 Artwork by Klimt
 Artwork by Janeia, Chyna, Kayla, Robert
 Artwork by Akilah, Merelyn, Trevius, Joseph, Jermaine

 Decorated Upper Arm by Jermaine, Davion and Earl...Oh science connection, the 3rd graders learned upper and lower arm, thigh, calf, skull, ribcage, and other anatomy words :-)
 Artwork by 3rd and 5th graders, and special thanks to Art Club for putting the skeletons together.
 "Green Line" by Matisse
 Color Wheel by Janeia
 Artwork by Joseph
 Artwork by Janeia
 Artwork by Sanbonnice
 Matisse
 Artwork by Terron
 Artwork by Channa
 Artwork by Malik and Bobby
 Artist unknown...they did a great job, but they forgot the most important step, step #1= WRITE YOUR NAME

 Artwork by Kenmari
 Artwork by Sanbonnice
 Artwork by Akilah
 Artwork by Jakobe
 Artwork by VanGogh
 Artwork by Joseph
 Artwork by Cierra
 Artwork by Timothy
 Artwork by Alex


